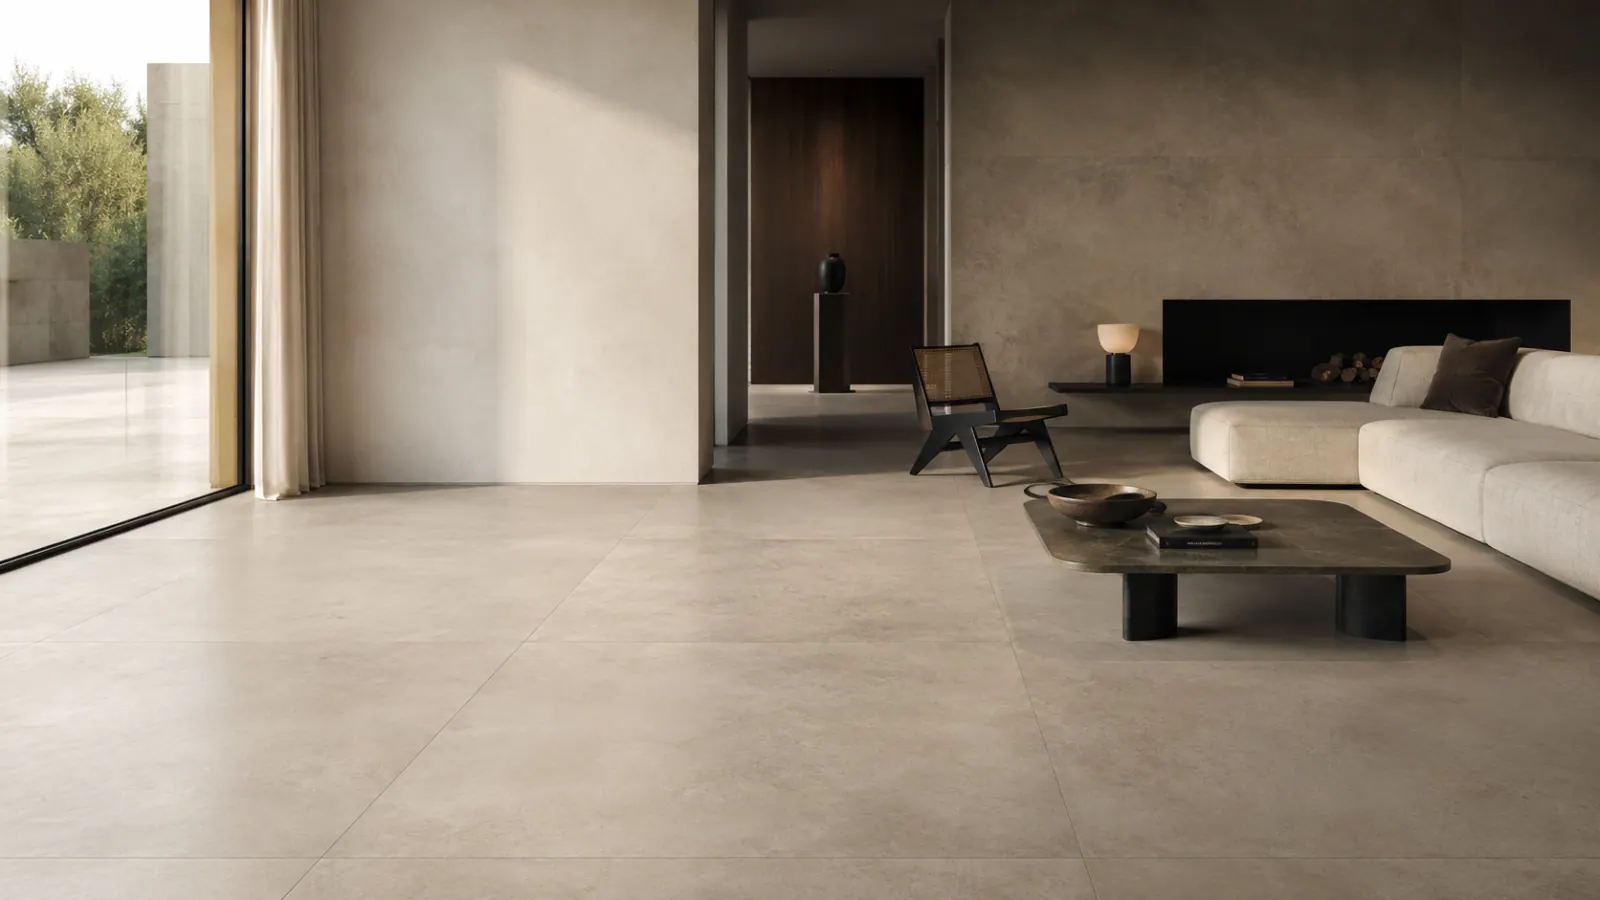
Large tiles are popular because they bring calm: fewer joints, larger surfaces, a continuous look. But what impresses in a mood photo also has to work technically in your room. Below are the benefits, the drawbacks and the installation rules a tiler applies.
What counts as large format
60x60 cm is today's standard format. From a side of 80 cm or a format of 60x120 we speak of large format; 120x120 and slabs of 120x260 are XXL and require specialised installation.
What that means in practice: a 60x120 tile of 10 mm weighs roughly 16 kg, a 100x100 outdoor tile of 20 mm roughly 45 kg. Per m², allow roughly 22 kg at 10 mm. In our range: Siena 90x90, Tavira 80x80, Fiorenza 100x100 and 60x120 in, among others, Norda, Concrete, Ural and Porto. All together at Large format tiles.
Benefits: calm, fewer joints, less maintenance
- Fewer grout lines: a 60x120 floor has roughly half as many grout lines as the same floor in 60x60. The floor reads as one surface and the room looks larger.
- Less maintenance: joints are where dirt collects. Fewer joints means less cleaning.
- The pattern comes into its own: marble-look and stone-look only show their veins on a large surface.
- Wall: 60x120 in the bathroom means fewer joints in the wet zone and a cleaner look.
Drawbacks: cutting waste, weight and tolerance
- Cutting waste: allow 10 to 15% and more with many doors, recesses or a diagonal pattern. Every cut wastes more material than with 60x60. Calculate it in advance with the tile calculator.
- Narrow offcuts: in a small room you quickly end up with 10 cm strips along the wall. A layout plan starting from the centre or from the most visible wall prevents that.
- Weight and handling: pallets, suction cups and two people per tile. The site must be accessible for a pallet truck.
- Tolerance: every tile is slightly curved by the firing process (bowing). With large format you see that as a height difference between tiles (lippage), especially in raking light. That is why stricter rules apply to substrate and laying pattern.
- Repairs: replacing one broken tile is a bigger job with 60x120 than with 60x60. Keep a spare box from the same batch.
Substrate and adhesive
The larger the tile, the less the substrate forgives. Guideline: a maximum deviation of 2 to 3 mm under a 2 m straightedge. If the screed is rougher, level it first with a levelling compound. "Working away" large format on an uneven screed with thick layers of adhesive leads to hollow spots and breakage.
Adhesive is applied double (back-buttering and floating): adhesive with a 10 to 12 mm notched trowel on the substrate and a thin layer on the back of the tile. The aim is an adhesive bed of at least 90% indoors and 100% outdoors. Use a flexible C2 S1 adhesive, C2 S2 for XXL, and press or vibrate the tile into place. On underfloor heating these rules are not optional: read Ceramic tiles and underfloor heating.
Joint width, laying pattern and levelling system
- Joint width: rectified tiles are laid with a minimum of 2 mm; with 60x120, 3 mm is more comfortable for absorbing tolerances. Asking for narrower than 2 mm is asking for lippage and broken corners.
- Laying pattern: straight bond or an offset of at most one third. Never a 50% offset (brick bond) with tiles longer than 60 cm: the highest point (centre) of one tile then sits next to the lowest point (end) of the other, and the bowing becomes visible.
- Tile levelling system: levelling clips of 1, 1.5, 2 or 3 mm (= joint width) with wedges or spin caps hold the tiles flat while the adhesive cures. Allow 2 clips per side up to 60 cm and 3 per side from 90 to 120 cm; for 60x120 that comes to roughly 7 clips per m². After curing (24 hours) you kick the clips off in the direction of the joint. All sizes are on Tile levelling system; we calculate the quantity for you.
Think beyond the price per m²
The price per m² excl. VAT on the product page is one item. With large format, add:
- cutting waste of 10 to 15%,
- more adhesive because of the double application, plus levelling clips and wedges,
- transport and pallets; extra costs for a site with difficult access,
- a higher installation rate per m² for XXL, because it takes two people.
So request a quote with plan and dimensions: then we work out quantity, cutting waste and delivery in concrete terms. How our prices are built up is explained on Pricing and manufacturer model.
Conclusion
Large tiles are a strong choice when you want calm and fewer joints, provided the substrate is flat, the adhesive is applied double, the joint is at least 2 mm and the pattern is never a 50% offset. Allow for more cutting waste and a tile levelling system. Factor that in up front and you get a floor that still looks just as flat in ten years. Compare the formats in the showroom in Merelbeke with your plan to hand.
Continue your research
FAQ
Frequently asked questions
Do large tiles make a room look bigger?
Visually, yes: fewer grout lines let the floor read as one surface. That works best in open spaces from 25 to 30 m² upwards. In small rooms with a lot of cutting the effect disappears.
Are large tiles harder to install?
Yes. The substrate has to be flatter (2 to 3 mm under 2 m), the adhesive applied double, and you work with a tile levelling system and with two people. Allow for a higher installation rate.
How narrow can the joint be with large tiles?
A minimum of 2 mm with rectified tiles; 3 mm is more comfortable with 60x120. Narrower leads to visible height differences and broken corners.
Can I lay 60x120 in a 50% offset (brick bond)?
No. Because of the slight bowing of every tile, the height difference then becomes visible. Lay straight or with an offset of at most one third.
How much cutting waste should I allow for?
10% for a straight bond in a simple room, 15% or more with many interruptions or a diagonal pattern. The tile calculator works it out per format.
Il Mondo Tiles
Compare tiles in the showroom
Bring measurements or photos. We help you compare sizes, finishes and pricing for your project.